Hello, Carol here with my first post on the Craft Stamper Blog.
I am going to be using the melt pot with a rubber stamp to make a partial image that I will be layering over the same stamped image to add interest and depth to a small canvas. I have personally found that a collage type image works best for this and I try to avoid using one that has to many solid black areas.
This is a great way to introduce yourself to the melt pot if you have not used one before. It only involves a small amount of UTEE and because you work on a small piece of craft sheet as opposed to pouring your UTEE out, it gives you greater control while you get to grips with a new medium.
UTEE gets incredibly hot when it is melted so always be careful when using a your melt pot, if pouring melted UTEE always pick it up by the two handles on the sides and pour keeping the pot well away from yourself on a desk top that you have protected with a heat resistant craft mat. Even when melting your UTEE directly in the pot you do not need to melt a great deal in one go, as it is surprising how far melted UTEE goes. I always use the clear as my base for what ever colour I am going to be using, as this seems to be slightly thinner when melted, and therefore makes the medium more fluid to pour, also the clear is less expensive than the coloured and it makes it all go further.
So without further ado on with my project and I hope it inspires you to use your melt pot in some interesting way. If you do it would be lovely if you shared your makes on the Craft Stamper
Facebook Page.
Step 1
Lay an insert into your melt pot. You can buy these, but I have cut my own from an old craft mat that had seen better days. Sprinkle some embossing powder onto the insert; I used clear and platinum. Let this melt.
Step 2
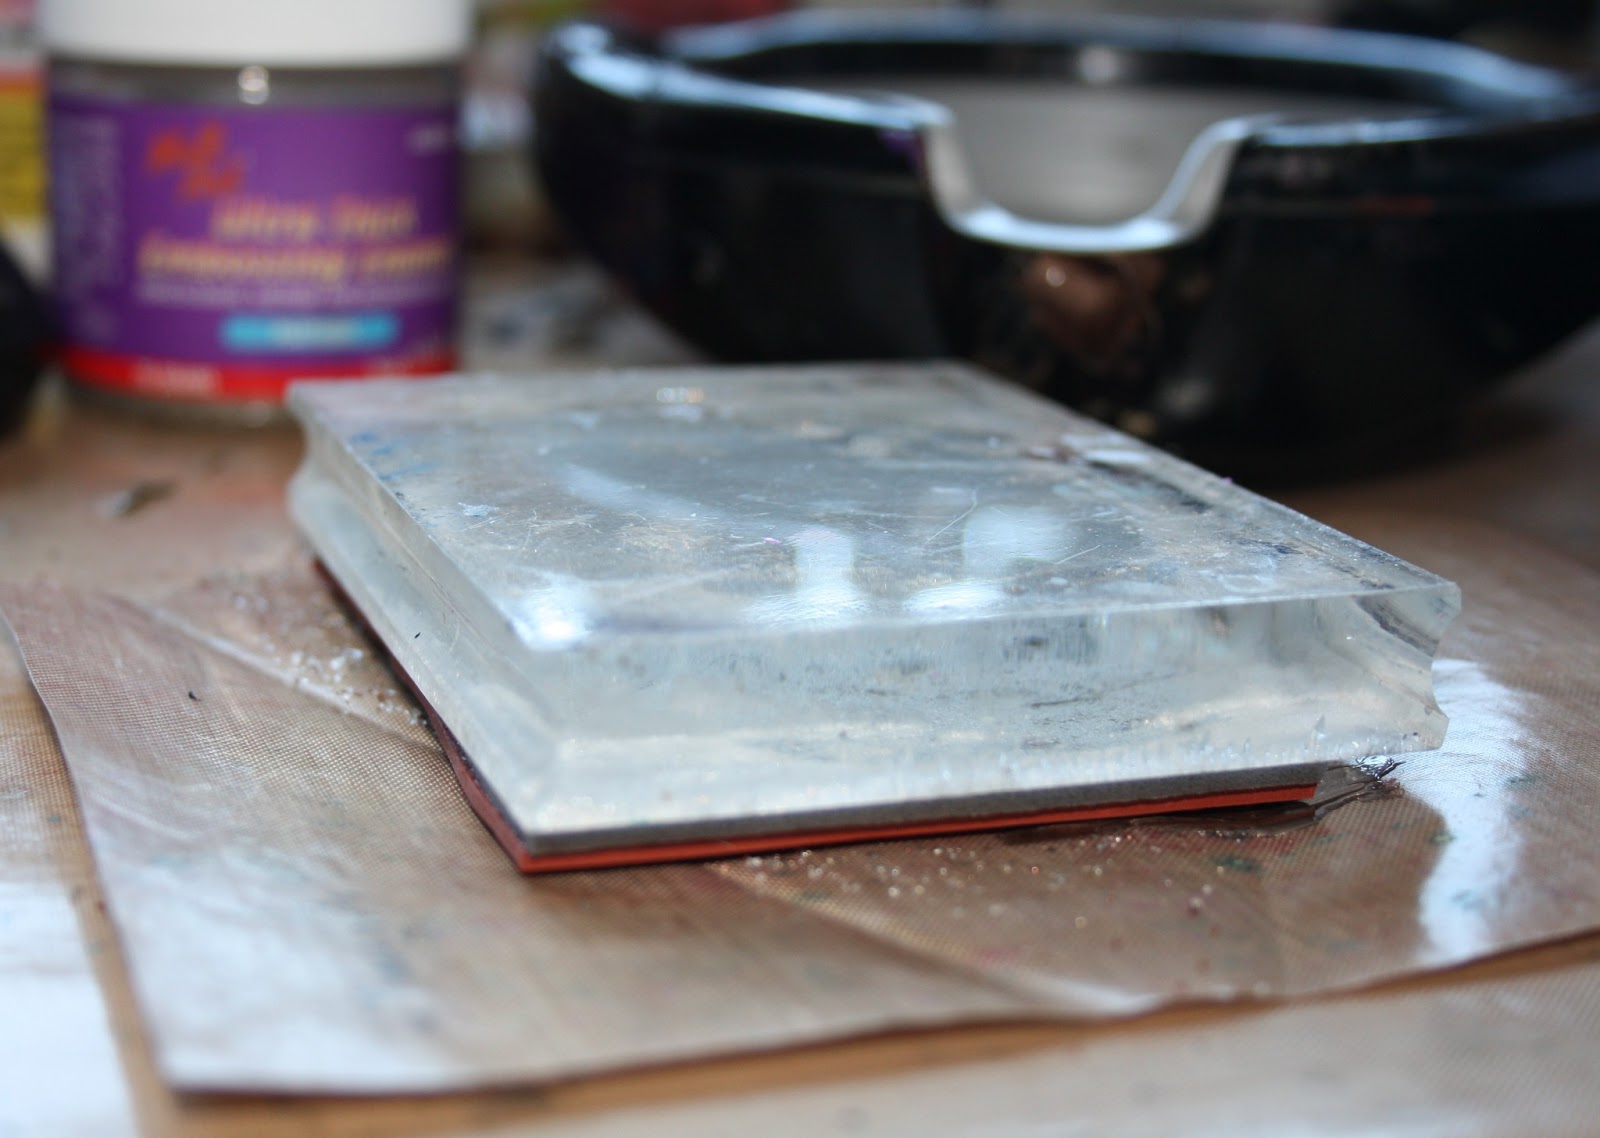
I removed my insert, quickly spread the melted UTEE over an area approximately the size of my stamp and stamped into it. I left my Stamp in place until the UTEE was cold.
Step 3
When it was completely cold I carefully removed the stamp and then pealed the UTEE image from my insert; do this very carefully as it will be quite fragile. You can see from mine that I have lost part of my image where the butterflies are, I was about to put this back to remelt and do it again, but I decided this will probably work quite well and will hopefully add a bit more interest to my finished item. I also trimmed it carefully around the sides to remove any UTEE that had gone outside of the stamped area, but this is again is a personal choice and depends upon the size of your finished item.
Step 4
As you can see from the main image at the start of this post I am making an ATC sized canvas. It is only a cheap canvas and not very firm to stamp directly onto, so I stamped my image onto tissue paper using black versafine ink and coloured it in on the back using Distress inks. I tore this to size and stuck it onto my canvas using Mod Podge. I added a layer of Mod Podge over the top of the tissue image and let this dry.
Step 5
I then edged my Canvas with a Black Dabber to tidy up the edges. I then positioned my UTEE piece over the stamped image carefully placing it so that it lined up, glueing it into place with Glossy Accents.
Step 6
I highlighted the UTEE image with some Treasure Gold and added some around the edge of the canvas to draw it all together. Finishing it as shown in the main photo using ribbon and charms.
I used
Melt Pot
Utee: Clear, Platinum
Crafty Individuals Stamp: CI-337
Versafine Ink: Black
Distress Inks: Peacock Feathers, Spiced Marmalade and Festive Berries
Treasure Gold: Rose quartz, Renaissance and Sapphire
Small canvas
Tissue paper
Ribbon Scrap
Small Charm
A full list of suppliers can be found on the post on my own
blog.
Thank you for visiting the Craft Stamper Blog today, if you do have any questions at all, either leave a comment below or you can contact me via my
blog, a link is also in the right hand column.
Carol x